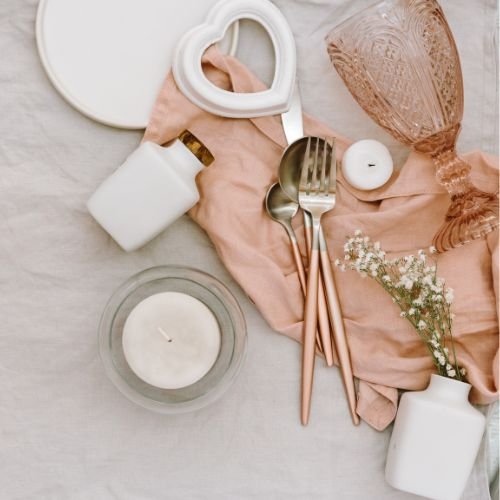
How To Achieve a Balanced Flat Lay
“Flat Lay Photography is a photograph taken from directly above looking down on products or food. It gives a bird’s eye view of what it is your photographing and is an extremely popular genre of photography on social media.”

Know the why
Before you start snapping, ask yourself: What’s the story behind your flatlay? Are you wanting to share a new product? Your why is the foundation of your image and all the decisions you make when creating it, should be based on your why.
The background
Clean, flat backgrounds are the best, most easiest way to give your image more impact.
Avoid busy patterns or bold colourful backgrounds because they’re distracting and compete with the other objects in the image.
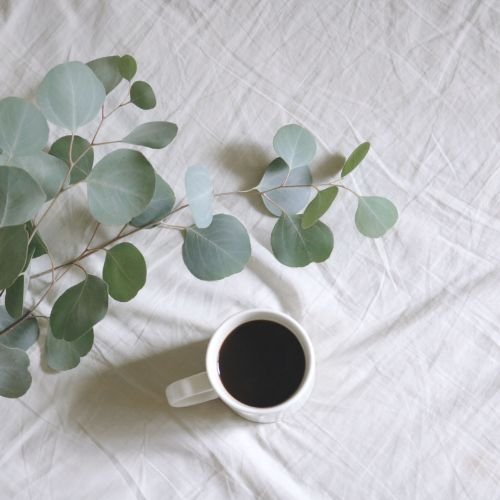
There are stacks of unique backgrounds lying around your home. White bed sheets, wooden tables, neutral coloured floors, marble benchtops. Light coloured craft paper is another easy background idea. The key is to choose a background that acts as a blank canvas.
Natural light
Natural light is the best way to light your image and you are going to find it next to a window or in a space that received a lot of natural light. The key, is to avoid direct rays of sunshine so you don’t get harsh shadows and extreme contrast in your image. Make sure to place yourself facing the light or stand to the side of the light. Light will allow objects to cast shadows on certain parts of your background, creating dimension so that it doesn’t appear too flat.
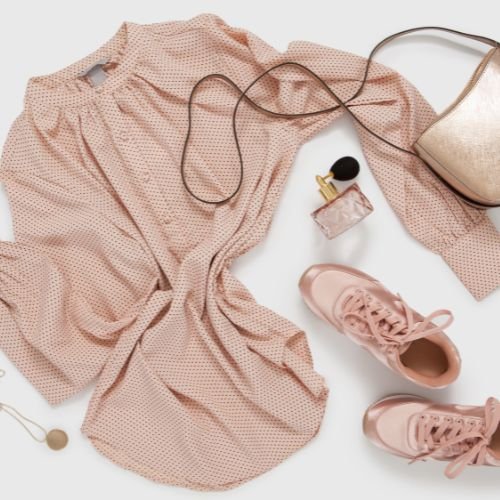
The hero and the sidekicks
Most flat lay’s have a hero product. The hero of the image is usually what you’re trying to sell and will be the main focal point of the image.
Sidekicks are the other major elements that relate to and compliment the hero. Together they’ll act as the framework for the smaller, more detailed secondary props.
Secondary props are the extras to your visual story and add subtle context to your image, without stealing the limelight.
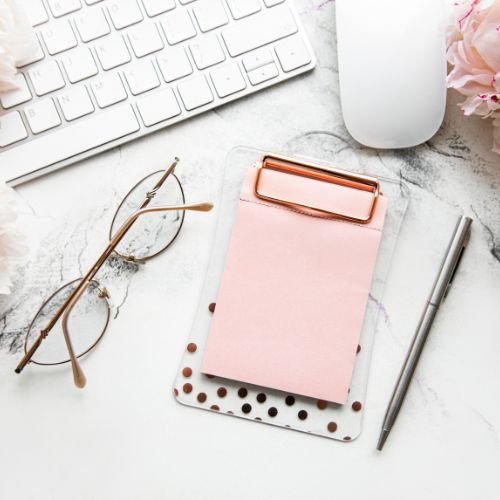
Setting the scene
For object placement, rather than placing all of your objects in the center of the shot with a border of negative space surrounding them, arrange your objects so that they overflow out of the frame and only parts of some objects are in the frame.
This creates intrigue and encourages you to feel as though you are seeing a snippet of a larger scene, engaging the viewer’s imagination to think beyond the frame.
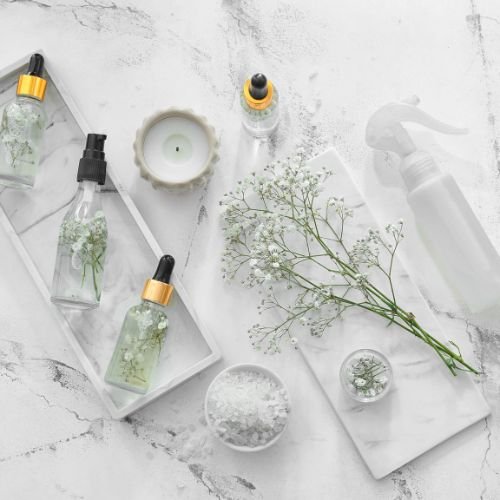
Feeling flat?
If the image just isn’t feeling right and looking a bit too flat, layering is a great option. Stacking different sized plates and placing your main subject on top, adding in a towel or a cloth below your plate or finding objects that naturally sit closer to the camera will add some depth.
If you are trying to add depth with objects that are similar in height, try using differing textures beneath the main object. Adding items such as linen cloths or crinkled paper can give added intrigue as you create multiple layers.
The perfect shot
Flat lays are usually shot from a bird’s eye view, holding your camera directly above the middle of your prop layout. Stand on a chair if you need to get a higher view. The goal is to get your camera parallel to your flat lay, so the lens is aimed straight down. If you are using the camera on your phone, use the square crop mode.
Pro tip: Once you have the perfect photo, swap out a few key props for new ones, then snap variations at slightly different angles for bonus content. The more content you can get, the less time you need to spend coming up with new scenes!
Edit before you post
All images benefit from some editing. There are some fantastic photo apps you can use to edit your images right on your phone. Out top pick is Lightroom. Tweaking the angle, contrast, saturation, and clarity are the easiest ways to make your flat lay really pop. Play around with the different filters to get the right finish and look that you want.
Just like anything in life, the more you practice you have making flat lays, the better you’ll become. There’s really no right or wrong, just use these steps as a guide, take some inspiration from platforms like Instagram or Pinterest and get snap happy!